

What is a Feature Flag?
In software development, feature flags are used to enable or disable a feature at runtime without deployment of the code. This separates the deployment process from the release of new features.
Feature flags can be called “feature toggles”, “feature flippers”, “release flags”, “release toggles” or “conditional features”.
Feature flags are useful in a crisis. For example, a team released a feature to production only to discover that it wasn’t quite ready. Perhaps it ended up failing to meet users’ expectations, or perhaps it didn’t quite work as intended. Rather than calling for emergency meetings or deployments to disable the feature, we can simply turn off the toggle.
fun_with_flags is a popular package that lets developers easily add feature flag support to their Phoenix applications. This blog post will walk through different ways to configure the library in order to demonstrate different use cases for feature flags. In the simplest way, we can enable/disable a feature for everyone but fun_with_flags provides us with more granular and precise control over which feature should be enabled or disabled for which type of structs.
fun_with_flags provides extensive information in the README file. It can be configured with redis or relational databases to store flag information. For simplicity, we will configure it with postgres to persist the flags. It will not make calls to the DB for every lookup. In fact, it will create a local cache of the flags information in ETS for faster lookups. At runtime, if we change the state of the flags, then it synchronizes the change as well.
fun_with_flags allows developers to fine-tune the scope of feature flags using something called gate.
Different gates can achieve different specifications, including:
Boolean Gate
This gate is the simplest one, as we can enable/disable a feature globally (for every struct).
Actor Gate
This gate is used to enable/disable a feature for certain structs that meet specific conditions. For example, enable/disable a certain feature for a company named DockYard or for a user whose id is 99.
Group Gate
This gate is used for any number of structs that meet a specific condition. For example, we can enable/disable a feature for all employees who belong to a company named DockYard.
Percentage of Time Gate
This gate will enable/disable a feature for a percentage of the time. For example, it will enable a feature for a company DockYard for 50% of the requests and disable the same feature for the remaining 50% of the requests.
Percentage of Actor Gate
This gate will enable/disable a feature for a percentage of actors. For example, it will enable/disable a certain feature for 50% of companies. If we have 1,000 companies in our database, it will enable a feature for 500 companies and disable it for the other 500. However, if a feature is disabled for a specific company then that feature will be disabled regardless of the requests.
Let’s Create a Demo Application
mix phx.new app
Add some scaffolding for a Company entity.
mix phx.gen.html Companies Company companies name number_of_employees:integer
Add the following line (route) in router.ex.
resources "/companies", CompanyController
Let’s add some data to play with by adding the following snippet in seeds.exs
alias App.Companies
for c <- 1..50 do
 company_attrs = %{
   name: "Company #{c}",
   number_of_employees: Enum.random(1..1000)
 }
 {:ok, company} = Companies.create_company(company_attrs)
end
Open the lib/app_web/templates/layout/root.html.heex template and replace the <header> tag with the following snippet.
<header>
 <section class="container">
   <nav>
     <ul>
       <li><%= link "Companies", to: Routes.company_path(@conn, :index) %></li>
     </ul>
   </nav>
 </section>
</header>
Let’s Set Up fun_with_flags in Our Phoenix Application
Add the following dependency to the deps function in mix.exs:
{:fun_with_flags, "~> 1.10.1"}
Add the following in config.exs.
config(:fun_with_flags, :cache_bust_notifications, enabled: false)
config :fun_with_flags, :persistence,
 adapter: FunWithFlags.Store.Persistent.Ecto,
 repo: App.Repo
Let’s add fun_with_flags_ui web dashboard in mix.exs so we can easily add/delete or enable/disable flags.
{:fun_with_flags_ui, "~> 0.8"}
Add the following scope in router.ex.
scope path: "/feature-flags" do
 pipe_through :browser
 forward "/", FunWithFlags.UI.Router, namespace: "feature-flags"
end
Fetch all the dependencies of the application by running the following command in the terminal:
mix deps.get
Create a new migration file to add a table to save the state of feature flags in the database.
mix ecto.gen.migration add_feature_flags_table
Open the newly created file priv/repo/migrations/*_add_feature_flags_table.exs and replace its content with the following snippet.
defmodule FunWithFlags.Dev.EctoRepo.Migrations.CreateFeatureFlagsTable do
 use Ecto.Migration
 def up do
   create table(:fun_with_flags_toggles, primary_key: false) do
     add :id, :bigserial, primary_key: true
     add :flag_name, :string, null: false
     add :gate_type, :string, null: false
     add :target, :string, null: false
     add :enabled, :boolean, null: false
   end
   create index(
            :fun_with_flags_toggles,
            [:flag_name, :gate_type, :target],
            unique: true,
            name: "fwf_flag_name_gate_target_idx"
          )
 end
 def down do
   drop table(:fun_with_flags_toggles)
 end
end
Let’s run the following command in the terminal to drop, create, migrate and populate the database with our sample data.
mix ecto.reset
Run the following command in the terminal to start the application.
iex -S mix phx.server
Open http://localhost:4000/ and click on the Companies link in the browser and you will see a list of companies.

Implement a Boolean Flag
Let’s add a new flag via the fun_with_flags web dashboard.
- Go to
http://localhost:4000/feature-flags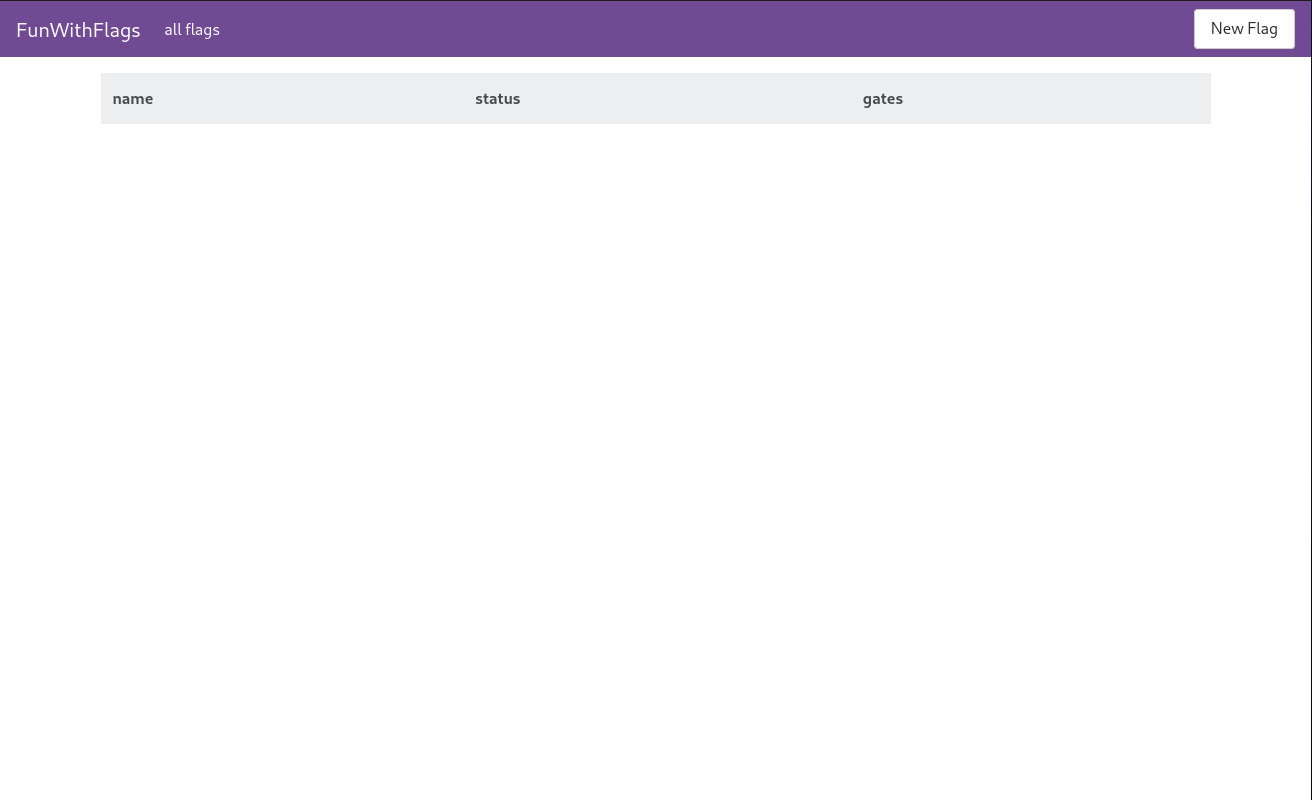
- Click on the
New Flagbutton at the top right side of the navigation bar. - Add
uppercase_company_nameand click on theCreatebutton.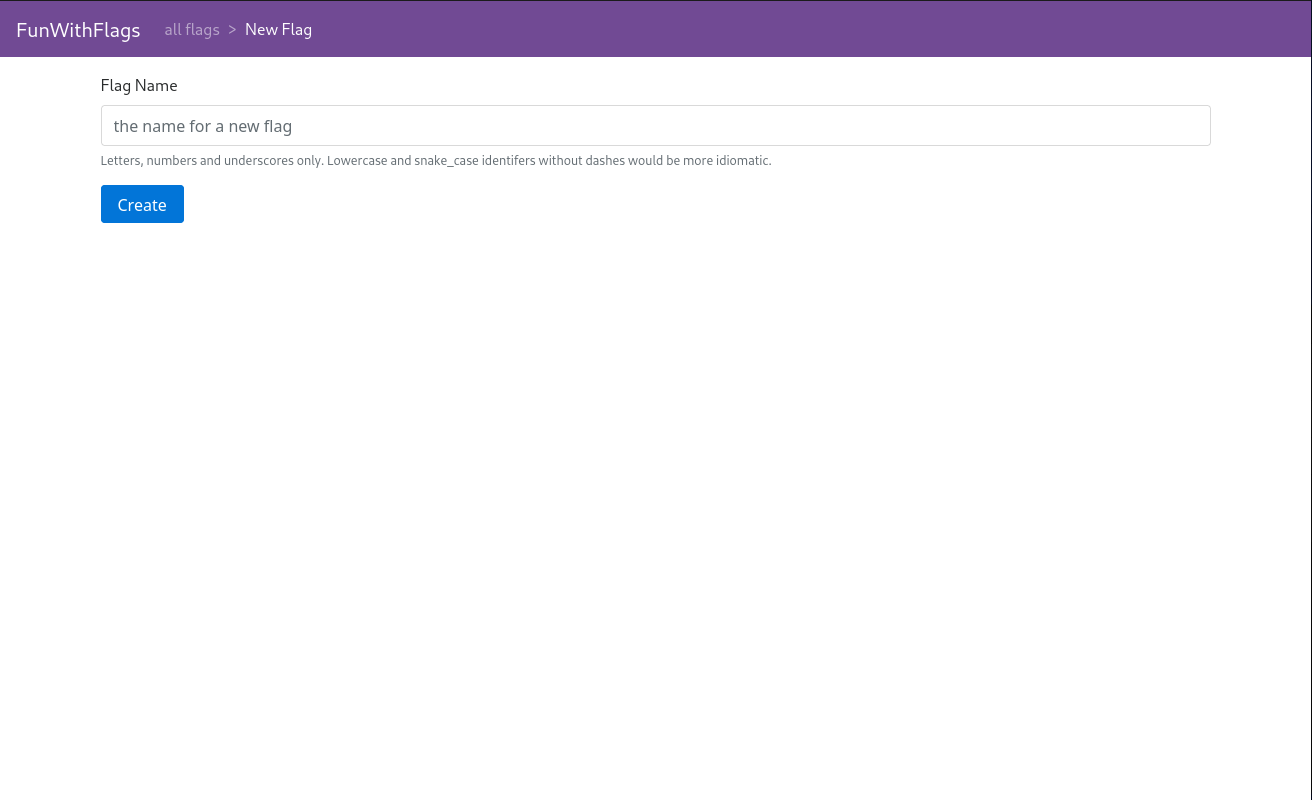
Now the new flag is inserted in the fun_with_flags_toggles database table, so we can use this flag in our code. The browser will be redirected to the flag information page.

Open templates/company/show.html.heex in the text editor and replace <%= @company.name %> with the following code snippet:
<%= if FunWithFlags.enabled?(:uppercase_company_name) do %>
 <%= String.upcase(@company.name) %>
<% else %>
 <%= @company.name %>
<% end %>
Now restart the application by pressing CTRL+c twice in the terminal then run iex -S mix phx.server.
- Go to
http://localhost:4000/feature-flags - Click on the
uppercase_company_namelink. - Click on
enablebutton in theDefault statesection.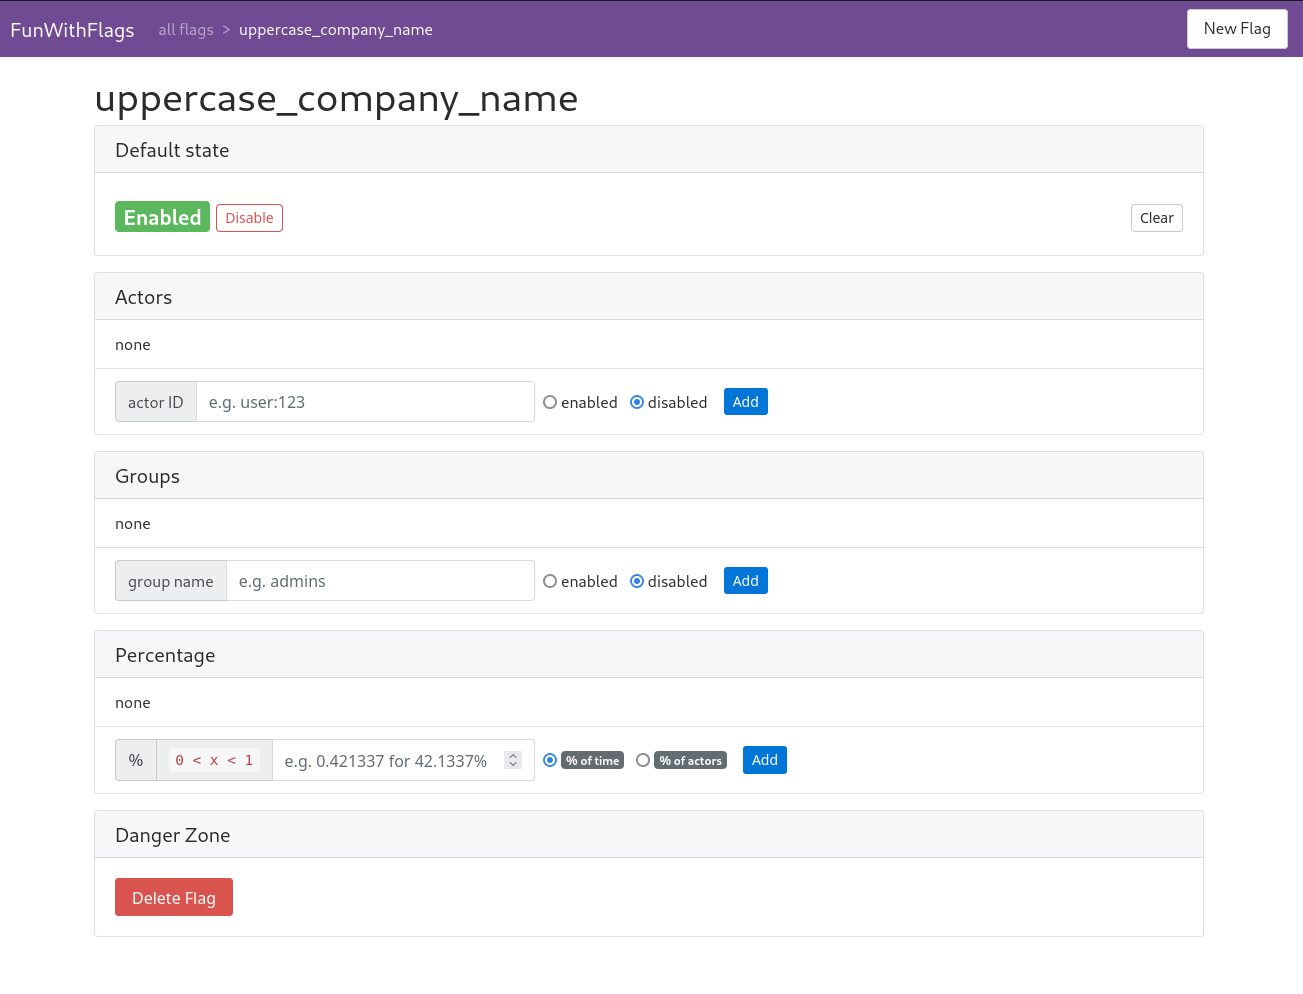
Now go back to http://localhost:4000/, click on the Companies link then click on Show link of any company. Because the flag is enabled, you will see that the company name is capitalized on every company’s show page.
Implement an Actor Flag for Company
Let’s create a file feature_flags_impl.ex in the lib/app/ directory with the following content.
defimpl FunWithFlags.Actor, for: App.Companies.Company do
 def id(%{id: id}) do
   "company:#{id}"
 end
end
- Go to
http://localhost:4000/feature-flags - Click on the
New Flagbutton at top right side of the navigation bar. - Add
enable_edit_buttonand click on theCreatebutton.
Open templates/company/show.html.heex in text editor and replace <span><%= link "Edit", to: Routes.company_path(@conn, :edit, @company) %></span> | with the following code snippet:
<%= if FunWithFlags.enabled?(:enable_edit_button, for: @company) do %>
 <span><%= link "Edit", to: Routes.company_path(@conn, :edit, @company) %></span> |
<% end %>
Now restart the application and click on the Companies link then click on the show link for any row. You will see that the edit button is hidden for every company because flags are disabled by default.
- Go to
http://localhost:4000/feature-flags - Click on
enable_edit_buttonlink - Click on
enablebutton inDefault state
Click on Companies then click on the show link for any row. You will see that the edit button displays for every company.
Now we want to hide the edit button only for Company 6.
- Go to
http://localhost:4000/feature-flags - Click on the
enable_edit_buttonlink - In the
Actorssection, addcompany:6in theactor IDfield then click on thedisabledradio button, then theAddbutton.
Now click the show button for Company 6. You will see the edit button is hidden.
Implement a Group Flag
Let’s add the following code at the end of the file lib/app/feature_flags_impl.ex.
defimpl FunWithFlags.Group, for: App.Companies.Company do
 def in?(%{number_of_employees: number_of_employees}, "show_employees"),
   do: number_of_employees > 600
end
- Go to
http://localhost:4000/feature-flags - Click on the
New Flagbutton at the top right side of the navigation bar. - Add
hide_employeesand click on theCreatebutton.
Open templates/company/show.html.heex in your text editor and replace
<li>
 <strong>Number of employees:</strong>
 <%= @company.number_of_employees %>
</li>
with the following code snippet:
<%= if FunWithFlags.enabled?(:hide_employees, for: @company) do %>
 <li>
   <strong>Number of employees:</strong>
   <%= @company.number_of_employees %>
 </li>
<% end %>
- Go to
http://localhost:4000/feature-flags - Click on the
hide_employeeslink - In the
Groupssection, addshow_employeestext in theGroup namefield then click on theenabledradio button then theAddbutton.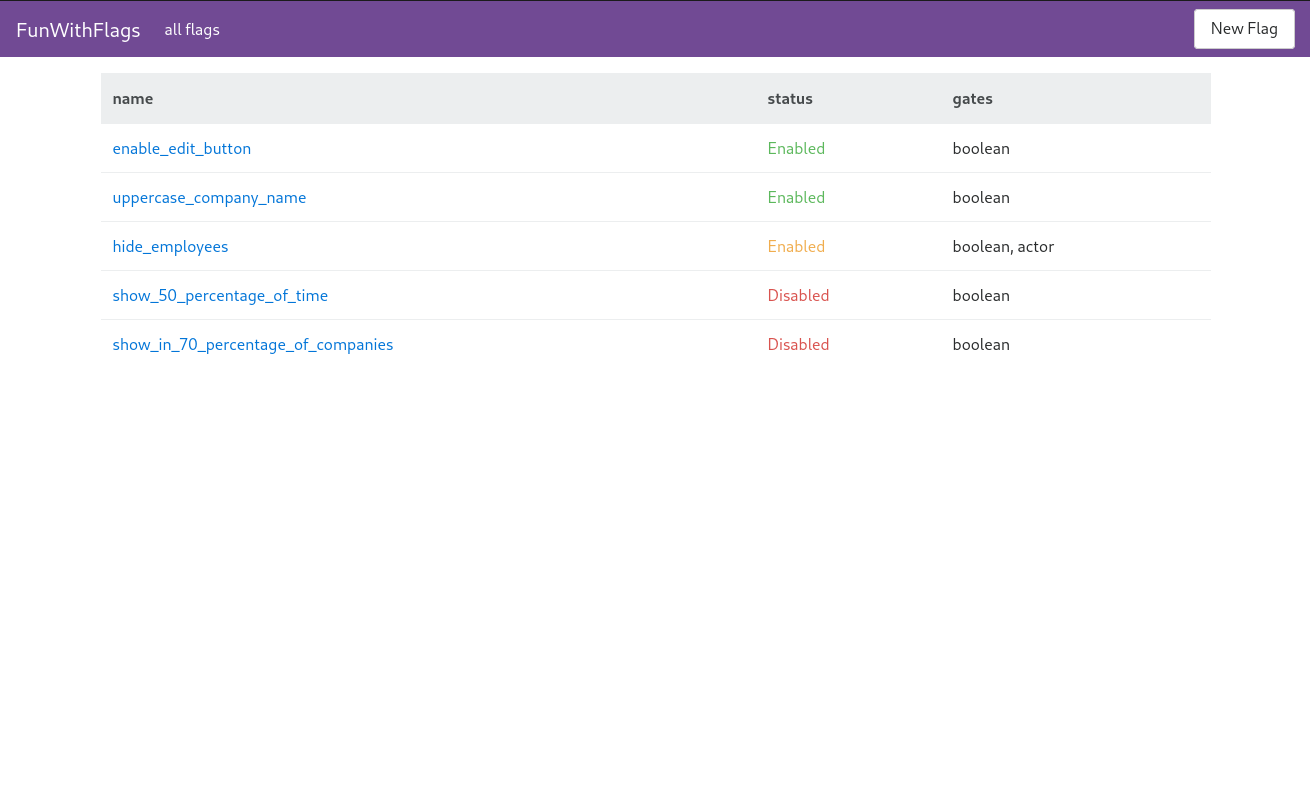
Now restart the application and click on the Companies link then the show link for any row. You will see that number_of_employees is hidden for every company that has less than 600 number_of_employees.
Implement a Percentage of Time Flag
- Go to
http://localhost:4000/feature-flags - Click on the
New Flagbutton at the top right side of the navigation bar. - Add
show_50_percentage_of_timeand click on theCreatebutton. - Add
0.5in the input field of thePercentagesection, click the% of timeradio button, then clickAdd.
Open templates/company/show.html.heex in your text editor and add the following code snippet at the end of the file:
<%= if FunWithFlags.enabled?(:show_50_percentage_of_time) do %>
 <h3>This text will appear 50% of the time (requests)</h3>
<% end %>
Now restart the application and click on Companies, then click on the show link for any row. You will see that the text will show/hide 50% of the time (requests) for the same company.
Implement a Percentage of Actor Flag
- Go to
http://localhost:4000/feature-flags - Click on the
New Flagbutton at the top right side of the navigation bar. - Add
show_in_70_percentage_of_companiesand click on theCreatebutton. - Add
0.7in the input field of thePercentagesection, click the% of actorsradio button then clickAdd.
Open templates/company/index.html.heex in your text editor and replace <td><%= company.number_of_employees %></td> with the following code snippet at the end of the file.
<%= if FunWithFlags.enabled?(:show_in_70_percentage_of_companies, for: company) do %>
 <td><%= company.number_of_employees %></td>
<% else %>
 <td></td>
<% end %>
Now restart the application and click on the Companies link. You will see that number_of_employees is shown for 70% of the companies.
How to Remove a Flag
- Go to
http://localhost:4000/feature-flags - Click on any flag you wish to remove.
- Click on the
Delete Flagbutton in theDanger Zonesection or you can click theClearbutton in theDefault state.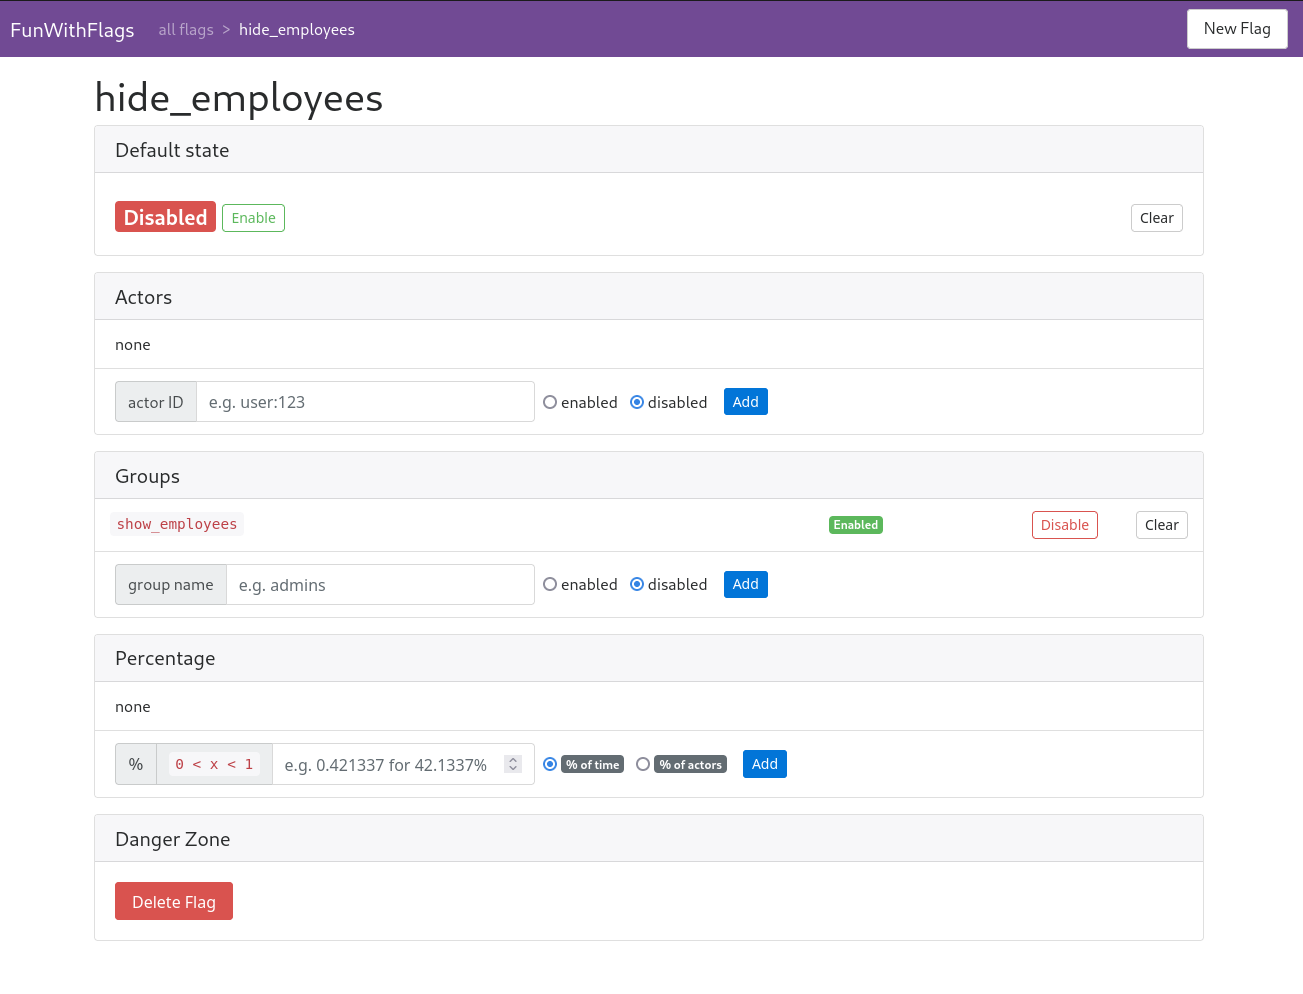
Conclusion
We can build a simple system with feature flags by using Environment Variables or with a GenServer module which can save the state in ETS, Redis, or Postgres.
Every new package or piece of code we add to our applications adds to the performance of the application, but the benefits of using a library like fun_with_flags outweigh the overhead. I see its use case in almost every application where we need to make quick decisions at runtime.
And that’s it! Now you can quickly and easily enable or disable features in your Phoenix application.
Whether you need engineering prowess, next-level design, UXD that delights, or product strategy to bring it all together, DockYard can help. Contact us today to learn how we can help you reach your goals, faster.
