When people first brought TV sets into their living rooms, it served as a new way to consume information and media. TV’s impact quickly extended far beyond consumption as it shaped pop culture and became the source of dinner entertainment, watercooler chats, and the messenger of some of the most prolific moments in world history.
Fast-forward to today, and the pandemic has catapulted video into the forefront of our lives as many of us use it to stay connected–yet socially distanced–from our families, friends, colleagues, healthcare providers, teachers, and more. Once again, video is reshaping how we interact with the world.
This shift has brought about an increasing need for not just video, but live-streamed capabilities to offer the dynamic, real-time interactions we all crave in our everyday lives.
The good news? With Phoenix LiveView, you can deliver on the promise of live-streamed video with minimal development effort.
Here, I’ll demonstrate how I got live streaming from a web browser to a Phoenix LiveView backend, and over to a Mux live stream—all by adding less than 70 lines of code to a base Phoenix LiveView project.
Mux
If you haven’t heard of Mux Video yet, they describe themselves as: “an API that enables developers to build unique live and on-demand video experiences.”
Phoenix LiveView
Phoenix, built by fellow DockYarder Chris McCord, was designed to empower developers to “build rich, interactive web applications quickly, with less code and fewer moving parts” and is being driven by a “ growing community of developers using Phoenix to craft APIs, HTML5 apps and more, for fun or at scale.”
LiveView guarantees it is “the most fun you’ll ever have building interactive web applications.” Having worked with Phoenix and LiveView extensively, I completely agree with this statement. Hopefully by the end of this post you will understand why.
The Code
So, let’s dive right in. First, let’s spin up a new LiveView app. If you haven’t installed the phx_new archive (or haven’t recently):
mix archive.install hex phx_new
Now let’s create the project. We will be using LiveView, and won’t need Ecto.
mix phx.new --live --no-ecto mux_liveview
Lets add Mux and Porcelain to our dependencies in mix.exs.
      {:mux, "~> 1.8.0"},
      {:porcelain, "~> 2.0.3"},
The Mux library will help us initialize the live stream and Porcelain will help us stream data to ffmpeg. Don’t forget to run mix deps.get after adding the dependencies.
Let’s remove all of the example code in lib/mux_liveview_web/live/page_live.html.leex and replace it with our video element so we can see ourselves:
<section class="row">
  <video phx-hook="StartCamera" id="video-canvas" controls width="100%" height="auto" muted></video>
</section>
And in assets/js/app.js. lets create the StartCamera hook just after the existing import {LiveSocket} from "phoenix_live_view" line:
import {LiveSocket} from "phoenix_live_view"

let Hooks = {}

Hooks.StartCamera = {
  mounted() {
    let hook = this;
    const video = this.el;
    navigator.mediaDevices.getUserMedia({
      audio: true,
      video: true
    }).then((cameraStream) => {
      video.srcObject = cameraStream;
      video.onloadedmetadata = function (e) {
        video.play();
        let mediaRecorder = new MediaRecorder(cameraStream, {
          mimeType: 'video/webm',
          videoBitsPerSecond: 3000000
        });
        mediaRecorder.ondataavailable = (e) => {
          var reader = new FileReader();
          reader.onloadend = function () {
            hook.pushEvent("video_data", { data: reader.result });
          }
          reader.readAsDataURL(e.data);
        }
        mediaRecorder.start(1000);
      }
    });
  }
}
And update the existing LiveSocket constructor to reference the hook:
let liveSocket = new LiveSocket("/live", Socket, { hooks: Hooks, params: { _csrf_token: csrfToken } })
Now, we need to update the default PageLive LiveView to set up ffmpeg and a Mux video stream on mount, and to handle the data being sent via the LiveView video_data event. Replace the entire file with this version:
defmodule MuxLiveviewWeb.PageLive do
  use MuxLiveviewWeb, :live_view

  @impl true
  def mount(_params, _session, socket) do
    socket =
      if connected?(socket) do
        {:ok, %{"stream_key" => stream_key}, _env} =
          Mux.Video.LiveStreams.create(Mux.client(), %{
            playback_policy: "public",
            new_asset_settings: %{playback_policy: "public"}
          })

        assign(socket, :porcelain_process, spawn_ffmpeg(stream_key))
      else
        socket
      end

    {:ok, socket}
  end

  defp spawn_ffmpeg(key) do
    # Copied from https://github.com/MuxLabs/wocket/blob/master/server.js
    ffmpeg_args =
      ~w(-i - -c:v libx264 -preset veryfast -tune zerolatency -c:a aac -ar 44100 -b:a 64k -y -use_wallclock_as_timestamps 1 -async 1 -bufsize 1000 -f flv)

    Porcelain.spawn("ffmpeg", ffmpeg_args ++ ["rtmps://global-live.mux.com/app/#{key}"])
  end

  @impl true
  def handle_event("video_data", %{"data" => "data:video/x-matroska;codecs=avc1,opus;base64," <> data}, socket) do
    Porcelain.Process.send_input(socket.assigns.porcelain_process, Base.decode64!(data))
    {:noreply, socket}
  end
end
If you don’t already have ffmpeg installed, that’s the next step. brew install ffmpeg should do the trick.
And finally, you will need to generate and add your Mux API keys. If you don’t already have a free developer account, create one now. Free accounts are limited to five-minute streams and the Mux logo is added to the stream. While not enough for production, this should be plenty for this proof of concept.
Next generate an AP Access Token with Mux Video -> Full Access permissions.
Copy the key/secret into your dev.exs file:
config :mux,
  access_token_id: "...",
  access_token_secret: "...”
And fire up your server with mix phx.server and open http://localhost:4000.
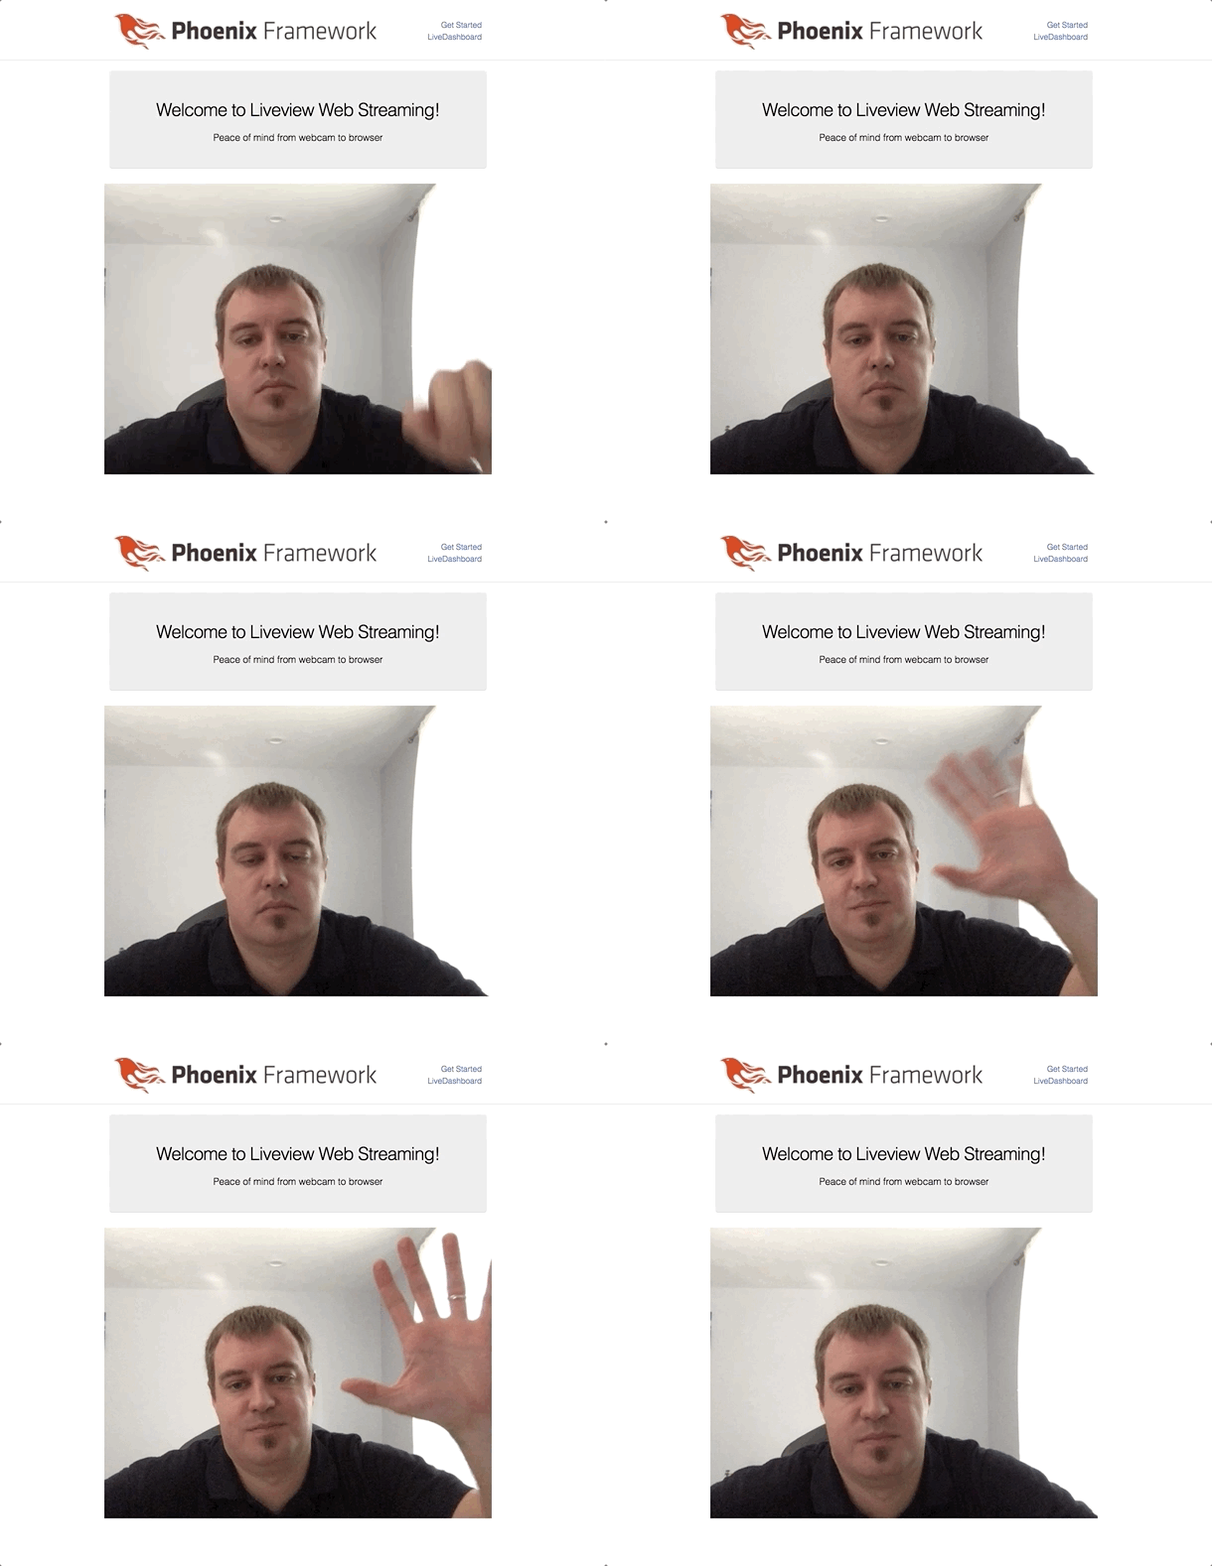
You should be prompted by the browser for access to your video/audio, and then, you should see yourself on the screen.

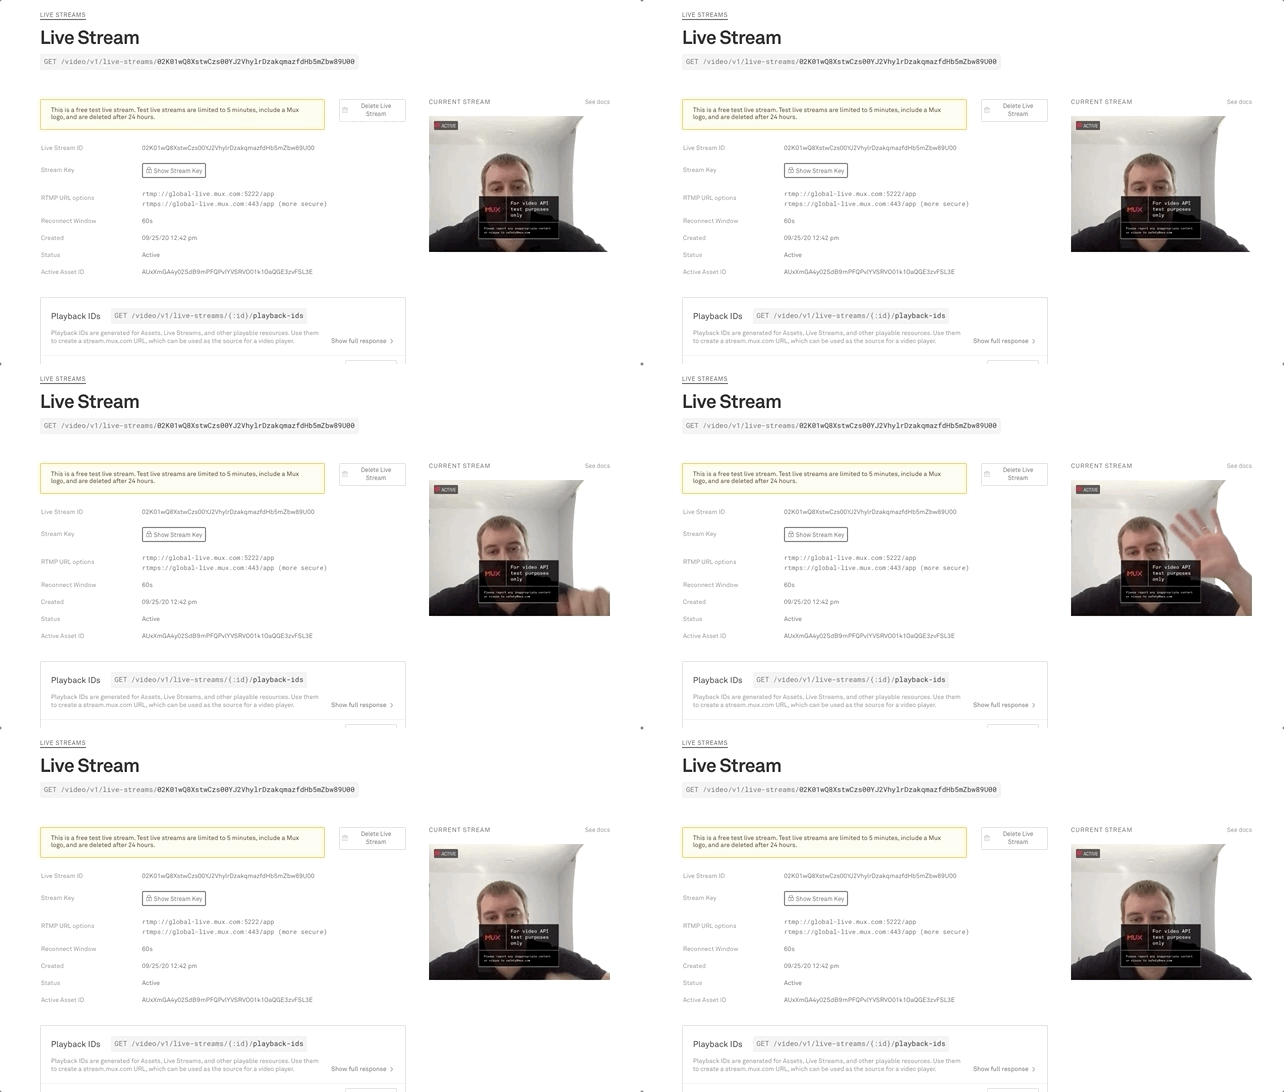
Head over to the Mux dashboard and click video->livestreams on the left. The top stream should be your live video. Click it and you should have your video/audio live streaming from the Mux dashboard.

All with less than 70 lines of code added to a base Phoenix LiveView project.
Now, a full solution is obviously going to need way more than 70 lines of code, as it will need to tackle things like:
- authenticating streams (if they are private);
- managing the full lifecycle of the live streams (right now you have to manually delete the streams from the dashboard);
- sharing the stream tokens with users; and
- putting the streaming video on the receivers web browser or app.
But, we are off to a great start with minimal development effort.
You can find the example repository here.
As we all strive to remain connected with the world, video is only becoming more prevalent in our daily lives. While we’re living in a very complex environment, Phoenix LiveView has the potential to remove the complexities of building web applications that unite people through the power of real-time video.
Interested in integrating video into your web offering? Reach out today to consult with our expert team.
DockYard is a digital product consultancy specializing in user-centered web application design and development. Our collaborative team of product strategists help clients to better understand the people they serve. We use future-forward technology and design thinking to transform those insights into impactful, inclusive, and reliable web experiences. DockYard provides professional services in strategy, user experience, design, and full-stack engineering using Ember.js, React.js, Ruby, and Elixir. From ideation to delivery, we empower ambitious product teams to build for the future.


